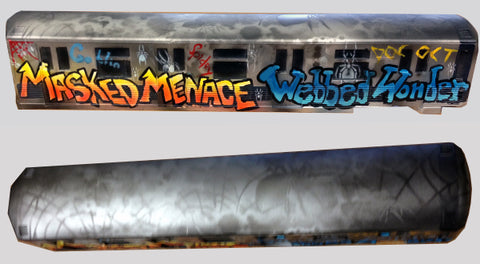
To install the train you need to put in the set pin that is provided in this kit. The set pin consist of a black wood screw and a nylon spacer. The screw that you remove to replace with the pin is located right behind the screw that holds down the tiny piece of plastic right by the ball shooter lane. The screw that holds the plastic piece down stays and fits in the shallow 2nd hole that is in the bottom of the train. Remove the existing screw and replace it with the set pin.


Next locate the spot light by Doc Oct. Take the new longer screw and run it through the small metal piece, Velcro side up. Set this to the side for a moment. Remove the metal threaded screw carefully from the light post, so not to lose any of the spacers or damage the light. Next flip the light upside down (as shown in the picture) and run the new longer screw and metal piece through it. Then the gray spacer that was on the bottom. Followed by the longer gray spacer. Finally put the smaller white spacer (provided) on the bottom and tighten down. The reason for flipping the light is that it stays at the same height as it was before you added the spacer. It drops the light down to the same height. But be careful not to damage light when flipping it over. Also this is an optional step.

